THE OFFICIAL WEBSITE OF THE HAMMER’S SLAMMERS
THE CRUCIBLE RULES SYSTEM HANDBOOK


GO BACK TO PAGE 1

Page 2
GO FORWARD TO PAGE 3

John Treadaway - May 2025
All photos by John Treadaway and Tony Francis Click thumbnail to enlarge


Operation Lupine
OBJECTIVES
Each turn the Hiroseki needed to spend 1 LP to
make a scan to find their opponents AT guns
and command team (1 per Hiroseki command
vehicle so 4 scans per turn). Each success on a
QL will locate an AT gun (plus one on the QR if
the gun has already fired). Harris reinforcements
were due to come in on a QR end of any turn.
Tony was to bowl 1 dice in turn 1, PLUS 1 dice
for each successive turn. The Harris boys were
to come on at random end or side. They came
on at the end of turn one (he had a lucky roll)
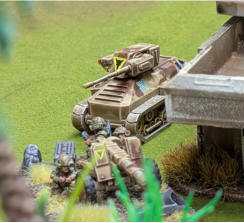
and came on in the side of my Planetary
defence detachment and made quite a mess of
it (they eventually fled at the end of turn 4)
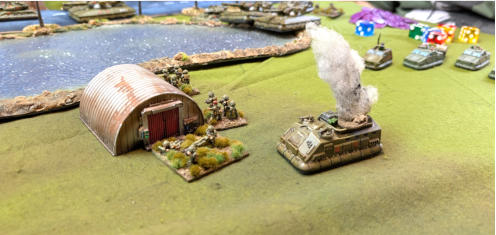
At the other end the three Hiroseki detachments
made good progress on: AT guns were deployed
and buzzbombs and missiles exchanged (using
snipers to spot). The Hiroseki had the
advantage of spaced armour against
Buzzbombs which saved them a few times.
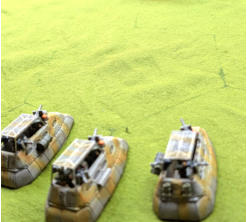
The final result was that in turn 4 the Wolverines
command team (and infantry unit) were located
in a high rise and unsuccessfully attacked. They
fled to an adjacent building with six floors and i
lined up three tanks and double fired the 2 shot
main lasers and pasted the building (not
knowing what floor they were on). I damaged
five floors (burning, holes, suppression of
anyone inside etc) but one floor I managed to
destroy completely and... bad luck for Tony, that
was the floor he’d written down on the sheet of
paper for location.